Exploring RISC OS on the Raspberry Pi
First Steps
To get started quickly, you first have to write the image for RISC OS to the SD card and then boot it up from there. When you boot the system, you will encounter a nicely arranged desktop (Figure 1). The upper part of the desktop serves as a quasi-pinboard, and the lower part is occupied by an icon bar, which, by the way, is the one that Microsoft licensed for Windows 95. A variety of icons representing documents or applications are located on both areas.
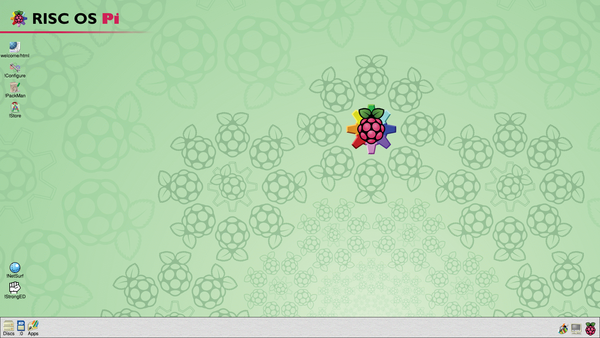 Figure 1: At first glance, the RISC OS desktop looks very much like KDE or Gnome, but this initial impression is deceiving.
Several icons are situated in the upper left portion of the pinboard, one above the other. Behind the welcome/html symbol is an HTML page that offers basic assistance in working with RISC OS. You can open this page in the standard web browser NetSurf by double-clicking with the left mouse button. Underneath this symbol, you will find other symbols for !Configure, !PackMan, and !Store.
RISC OS always adds an exclamation mark, nicknamed a Pling, to the names of applications. This convention is based on the fact that applications are actually directories, which the operating system handles differently because they are flagged with a Pling. Mac OS X uses a similar convention.
Network and Keyboard
If you would like to connect your Raspberry Pi to the Internet, you will need to activate the network support. To activate the network, you will need to connect the Rasp Pi to the local area network with a network cable, because the current RISC OS5.21 does not support WiFi via USB.
Then, double-click with the left mouse button on the !Configure icon on the pinboard. In the Configuration window, select Network and then Internet. At the bottom, highlight the Enable TCP/IP Protocol Suite option in the Internet configuration window. Save the changes you have made with Close and Save (Figure 2).
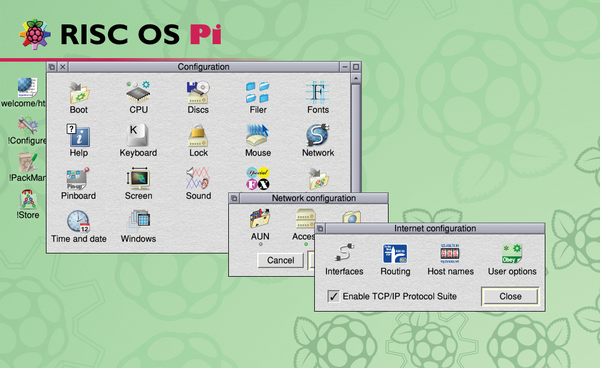 Figure 2: You can activate the network in just a few steps; however, you will have to reboot before the changes takes effect.
The new settings will only become effective after restarting, so you should select the Reset Now button in the Message from Internet Setup dialog box.
« Previous 1 2 3 4 Next »
Buy this article as PDF
Pages: 6
(incl. VAT)
Buy Raspberry Pi Geek
US / Canada
UK / Australia
Related content
-
Distributions for the Raspberry Pi at a glance

Several operating systems are designed to run on the Raspberry Pi. We look at some leading alternatives.
-
Multi-installer NOOBS for the Raspberry Pi

The NOOBS boot manager helps beginners try out Raspberry Pi operating systems. It also lets advanced users dig into the structure of the systems and adapt them as they like.
-
3D modeling on the Raspberry Pi with FreeCAD

FreeCAD makes 3D modeling on the Raspberry Pi easy, even for beginners. A service provider prints the product.
-
On the DVD

NOOBS 1.9.0
-
On the DVD

NOOBS 1.9.2
