Manage your Raspberry Pi website with the WordPress CMS
Download WordPress
Although Raspbian offers a WordPress package in its online repository, I'm going to install the latest version from the WordPress website. The software is changing quickly, and the developers frequently provide new versions and updates. Raspbian Wheezy contains WordPress 3.6.1, Raspbian Jessie has version 4.1. At the time of writing, the latest stable WordPress release was 4.3.1.
To download WordPress, you can use the shell command wget. The copy of the latest version is always available at http://wordpress.org/latest.tar.gz. Change into the directory /var/www/html and move all existing index.html or index.php files to another location. Then, grab the WordPress package (Listing 1).
Listing 1
Get WordPress
$  wget http://wordpress.org/latest.tar.gz
...
latest.tar.gz       100%[=====================>]
   6.22M  1.57MB/s   in 4.0s
2015-09-17 19:14:49 (1.57 MB/s) - 'latest.tar.gz'
   saved [6526208/6526208]
Now, extract the tarball and move the contents of the new folder wordpress to the current directory (Listing 2). You can delete the empty folder and the tarball after that.
Listing 2
Extract the Tarball
$ sudo tar xzf latest.tar.gz
$ ls
latest.tar.gz  wordpress
$ sudo mv wordpress/* .
$ sudo rm -rf wordpress latest.tar.gz
$ ls
index.php        wp-blog-header.php    wp-includes
                   wp-settings.php
license.txt      wp-comments-post.php  wp-links-opml.php
                   wp-signup.php
readme.html      wp-config-sample.php  wp-load.php
                   wp-trackback.php
wp-activate.php  wp-content            wp-login.php
                   xmlrpc.php
wp-admin         wp-cron.php           wp-mail.php
The next steps are going to happen in a web browser.
WordPress Setup
Open http://IP-address in your browser or reload the page if it's still open. Replace IP-address with the actual IP address. You should see the WordPress setup page (Figure 6). Click the Let's go! button to start the setup routine.
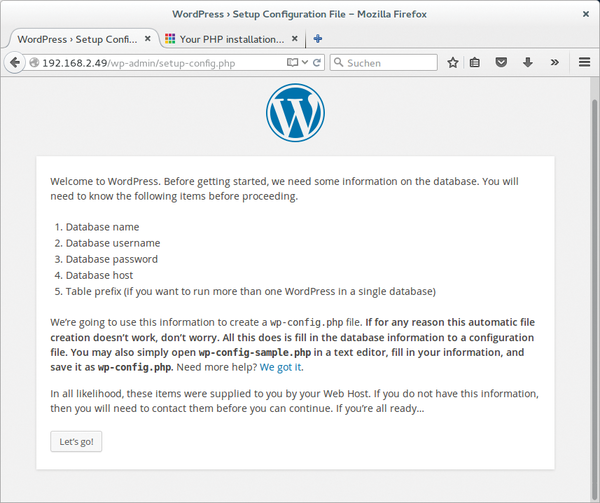 Figure 6: The WordPress setup happens in a web browser.
Next, you can fill out the basic site information. Enter wordpress into the Database Name field, the User Name is root, and Password is the password you set up during the MySQL installation. Don't change the Database Host (localhost) and the Table Prefix (wp_) fields. Press Submit to continue.
If you see an error message like – Sorry, but I can't write the wp-config.php file. You can create the wp-config.php manually and paste the following text into it – just copy the content shown in the dialog below to the file wp-config.php. You can create it in a text editor, and it belongs in the same folder as the rest of the WordPress files. After saving the new file, go back to the browser and click Run the install.
Fill out the information of the welcome screen: Give your site a title, create a username and password for access to the admin panel, put in your email address, and untick the search engines box. Hit the Install WordPress button (Figure 7), then log in using the account you just created.
 Figure 7: Give your new WordPress website a title and create a username and a password for access to the admin panel.
« Previous 1 2 3 4 Next »
Buy this article as PDF
Pages: 5
(incl. VAT)
Buy Raspberry Pi Geek
US / Canada
UK / Australia
Related content
-
Pydio on Raspberry Pi

Pydio transforms the Raspberry Pi into a powerful file sharing and collaboration platform.
-
The Rasp Pi serves up a tempting web server

The Raspberry Pi is a great web development tool for building home web servers, allowing you to experiment with Linux packages and test scripts locally before moving them to a production server.
-
Using the RPi Cam Web Interface

You can access and control the Raspberry Pi camera module from your favorite browser using the RPi Cam Web Interface software.
-
Control your data in the cloud with arkOS

ArkOS lets you put your online existence in the cloud without letting your data fall into the hands of commercial data gatherers. The system is easy to administer, and you can expand it using a handy system of extensions.
-
PHP on Raspberry Pi

Getting started with PHP on Raspberry Pi is easy. We show how to build a simple PHP app to control an LED.
