Build your own infrared camera
Everything You Need
Table 1 includes all of the components that you will need to construct an infrared camera. In addition to the Raspberry Pi, the most important items are the touch display and the NoIR camera module. You can connect the module to the suitable port on the Rasp Pi by following the instructions.
Table 1
Component List
| Part | Price (EUR/$) |
|---|---|
| Raspberry Pi (model A, B, or B+) |
34/36 |
| 2.8-inch touch display (320x240) |
50/35* |
| NoIR camera module |
26/25 |
| SDHC card (16GB) |
12/10 |
| WLAN module (Edimax EW-7811UN wireless USB adapter) |
9/9 |
| Step-up ring, 30-37mm (depending on filter type) |
6/5 |
| IR720 filter (Delamax 37mm IR720) |
25/20 |
| Battery pack (Anker Astro E5) |
32/40 |
| Case |
0-30/0-30 |
| Small USB cable for the power supply |
5/3 |
| *U.S. price is for Adafruit PiTFT [3]. |
I chose to use the 2.8-inch touch display from pi3g [4] introduced in a previous article [5]. The basic installation without camera software works about the same as for a normal setup. A modified image provided by the touch display manufacturer contains all of the drivers necessary for installation [6].
A good way to install the display is to start by connecting a network cable, logging in, and then calling the normal configuration with the sudo raspi-config command. Here, you can activate support for the camera, set the language and keyboard layout, and arrange for the computer to boot in the command line.
Assigning a permanent IP address makes for convenient access to the camera via the (local) network. Testing the component parts for functionality is accomplished via the
raspistill -o test.jpg
command. Then, you should copy the test file onto the PC and review the first picture produced by the camera. As an alternative, you can install the Linux image viewer fbi to view the photograph directly on the touch display (Listing 1).
Listing 1
Viewing the Image with Fbi
$ sudo apt-get update
$ sudo apt-get install fbi
$ sudo fbi -T 1 --noverbose -a test.jpg
The Insides
In addition to the core components of the camera, the operating system should include an SD card for storing images. You should consider having a card with a fair amount of storage capacity. Pi3g offers a half-sized SD card [7] that doesn't stick out, making it easier to fit the camera components into a case.
A small WiFi dongle, such as the Edimax EW-7811UN, can assume communication with the outside world, making it possible to download pictures. A dongle is not absolutely necessary, but it does make copying pictures onto the PC much easier.
Finally, you need a power supply. Infrared photography usually only works when there is a lot of light. Thus, you can use an off-the-shelf charger, like those used to charge mobile phones, for mobile charging capabilities. The charger will need to deliver the 1.2Ah required by the Rasp Pi.
The Anker Astro E5 shown in Figure 4 offers good capacity and can easily power the Raspberry Pi for several hours. However, it does have one disadvantage, namely, it has an on button but no off button. As a result, the user has to disconnect the cable leading to the Rasp Pi or risk having a computer that has been shut down because the battery was sucked dry. The solution to this shortcoming is to solder an off switch onto a USB cable.
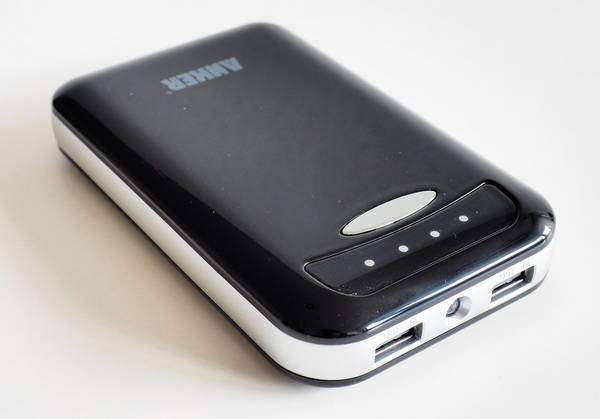 Figure 4: A mobile battery can power the Raspberry Pi for hours when out of range of an electrical outlet.
Buy this article as PDF
Pages: 6
(incl. VAT)
Buy Raspberry Pi Geek
US / Canada
UK / Australia
Related content
-
New Products
What's new in the SBC, IoT, and maker realm
-
Working with the Raspberry Pi camera module
The amazing Raspberry Pi camera module opens into a whole new world of useful projects. We'll show you how to use the Pi camera for time-lapse photography, and we'll even help you set up a motion-detecting surveillance camera.
-
Extensions for the Raspberry Pi

The resourcefulness of private and commercial users has led to the creation of many practical and novel extensions for the Raspberry Pi. We provide an overview of some useful supplementary circuit boards.
-
Snapshot
The remarkable Raspberry Pi has spawned a myriad of supporting projects – Android apps, program libraries, specialized Linux distributions, and an assortment of hardware accessories. The rapid changes within these projects is testament to the excitement and enthusiasm that developers around the world have given to the Raspberry Pi.
-
Building a video-enabled nest box
We show you how to build a completely wired nest box that charts the movements of nesting birds and delivers photo images of hatchlings.
