Touch Power
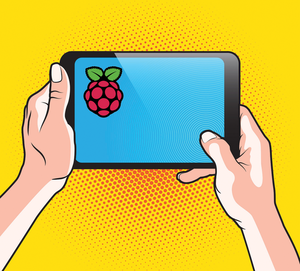
The new Rasp Pi display provides a compact option for viewing screen output – and it comes at a Pi-like low price of only $60.
Lead Image © nrey, 123RF.com
The new Rasp Pi display provides a compact option for viewing screen output – and it comes at a Pi-like low price of only $60.
A working Raspberry Pi system requires lots of other parts in addition to the tiny Pi board itself. You'll need a power supply, a mouse, various cables, and, unless you already own one, a monitor to display screen output for your Raspberry Pi system. Raspberry Pi users are accustomed to hunting up old monitors from long-discarded computers, or temporarily requisitioning a monitor from a currently running system to use as a display for the Rasp Pi.
The clutter of a full-size monitor, however, often invades the elegant simplicity of the Raspberry Pi. Monitors tend to be big and bulky, and they typically require their own power cable, which adds more congestion and complication to the tabletop configuration. A Rasp Pi by itself can inhabit an unobtrusive corner of the room, but add a monitor to it, and it really doesn't look much different from a conventional PC.
Some users solve the monitor problem by running their Rasp Pi headless through an SSH connection, but SSH requires you to boot another computer on the network (which, undoubtedly, has its own monitor anyway).
[...]
Pages: 4
US / Canada
UK / Australia

Display T. Box is a Raspberry Pi with a touch display in a compact case. The newest version of the Box comes with revisions that include a better touch screen and more speed.

Typically, the Rasp Pi transfers video data via HDMI to a TV or screen. For mobile access, you can connect the tiny computer to a similarly small touchscreen instead.

Make your own body cam with a Raspberry Pi, a cannibalized webcam, a WiFi module, and some Python.
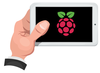
Display T. Box combines a Raspberry Pi 2 with an integrated touchscreen. The result is a complete mini-PC that can be used as soon as you supply power.

The resourcefulness of private and commercial users has led to the creation of many practical and novel extensions for the Raspberry Pi. We provide an overview of some useful supplementary circuit boards.

Price $15.99
(incl. VAT)